The CAD Viewer
Every viewer embeds the same CAD Viewer window — the JavaScript half of ocp-viewer-core, rendering with three-cad-viewer. Whether it sits in a VS Code panel, a browser tab, a Jupyter cell or the Studio app, the window looks the same and behaves the same. This page describes it from the user's side: what is on the screen and how to operate it with mouse and keyboard.
Almost everything described here can also be driven from Python: the initial state via keywords on the show* commands (see show), and a running viewer via set_viewer_config. The UI and the Python keywords are two handles on the same state — a toggle you click in the toolbar is the same setting as the keyword of the same name.
A live view of the viewer is on the next page — the real thing, embedded and interactive.
Layout
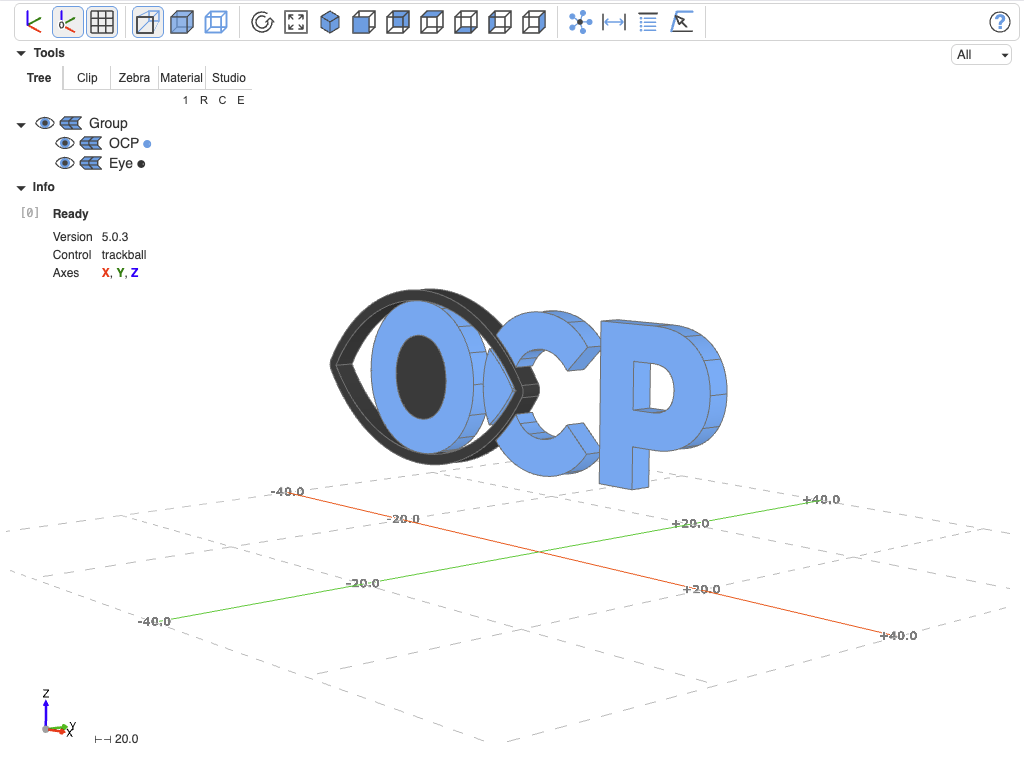
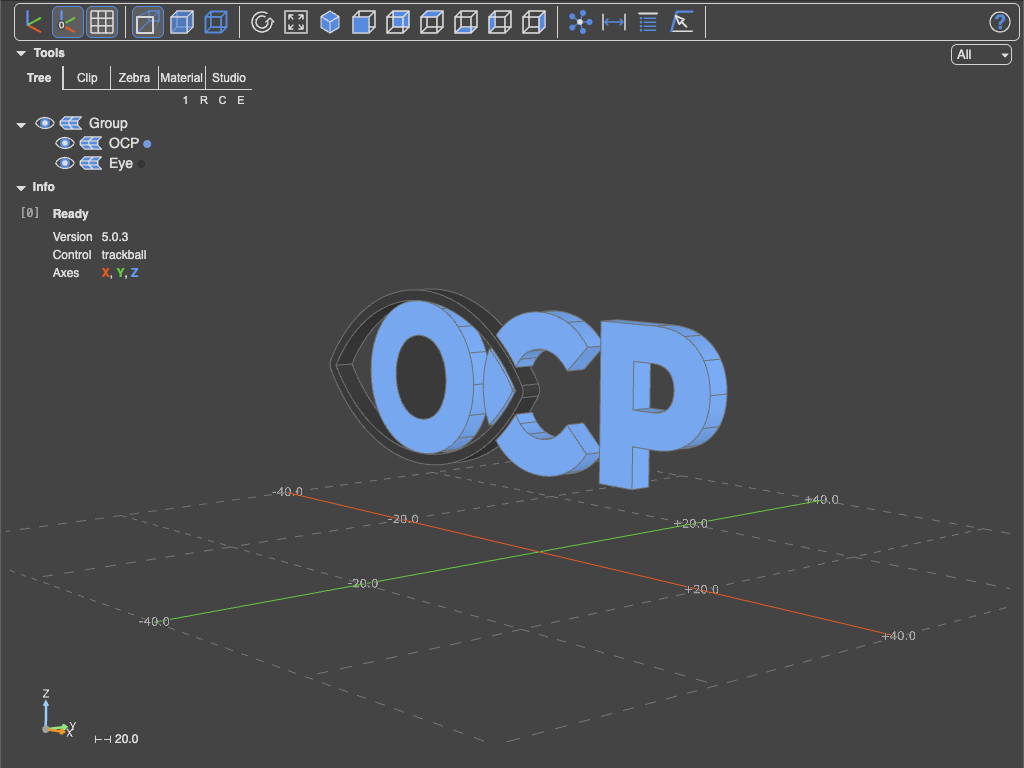
Viewer start screen with OCP logo
The window has four areas:
- the canvas, where the CAD objects are rendered. Before the first
show, it displays the OCP splash logo. - the tree panel on the left, with five tabs: the navigation tree (Tree) and the Clip, Zebra, Material and Studio tools — see Tabs.
- the info box below the tree panel. On startup it reports the viewer version and control mode; later it logs what you pick — see The info box.
- the toolbar above the canvas, with view toggles, camera presets and tools.
The tree panel and the info box each have a small collapse toggle (Tools / Info) to fold them away. In glass mode (glass=True) the tree floats as a transparent overlay on the canvas instead of occupying its own column, giving the CAD object the full width. tools=False hides the toolbar and tree entirely. The viewer follows the theme setting: "light", "dark", or "browser" to adopt the surface's preference.
When the window is too narrow for the full toolbar, button groups collapse behind … buttons; clicking one unfolds its group.
The toolbar
This model1 serves as a reference to show most of the features:
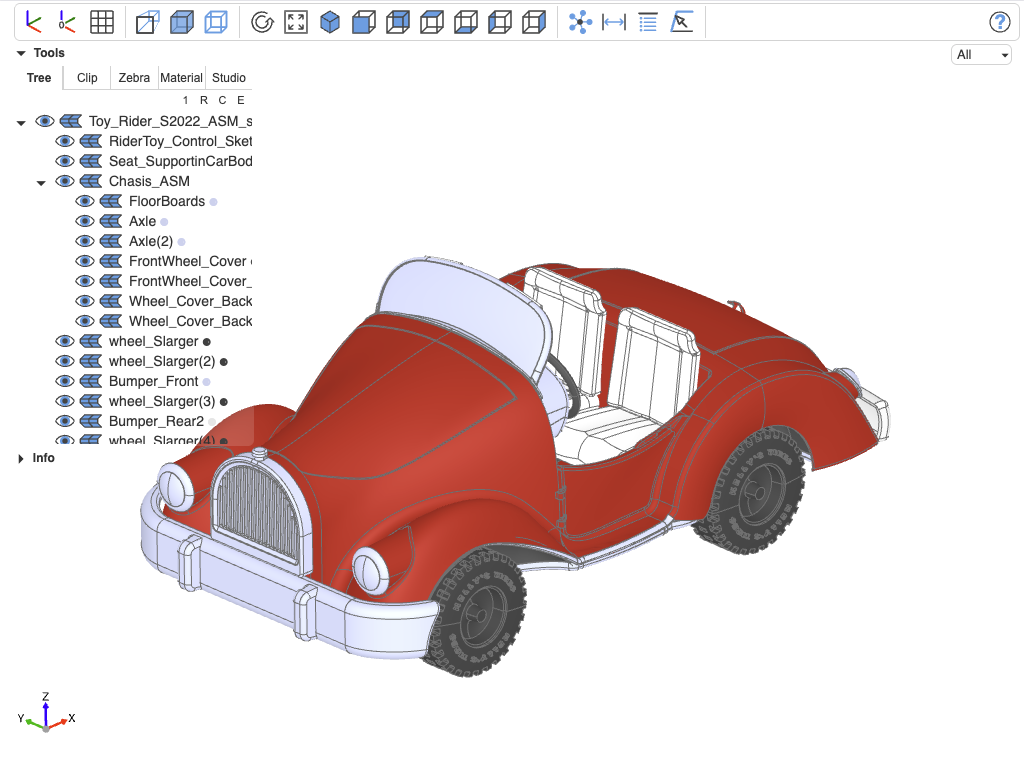
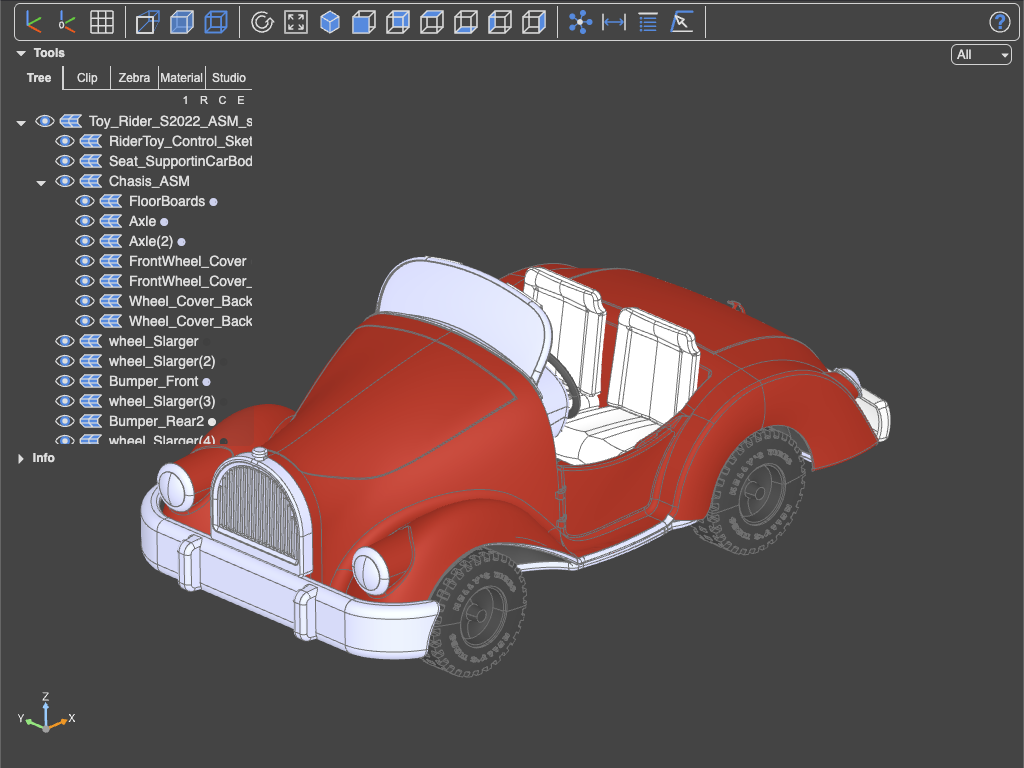
Reference view
From left to right, in groups (in parentheses are the Python show keywords that control the viewer setting):
View toggles
- Axes — show the axes helper through the object's center (
axes) - Axes at (0,0,0) — move the axes helper to the origin (
axes0) - Grid — toggle all grids; the button's dropdown switches the XY, XZ and YZ planes individually (
grid). The Python keywordcenter_grid=Truelocates the grids at(0, 0, 0). - Perspective — switch between orthographic and perspective camera (
ortho)
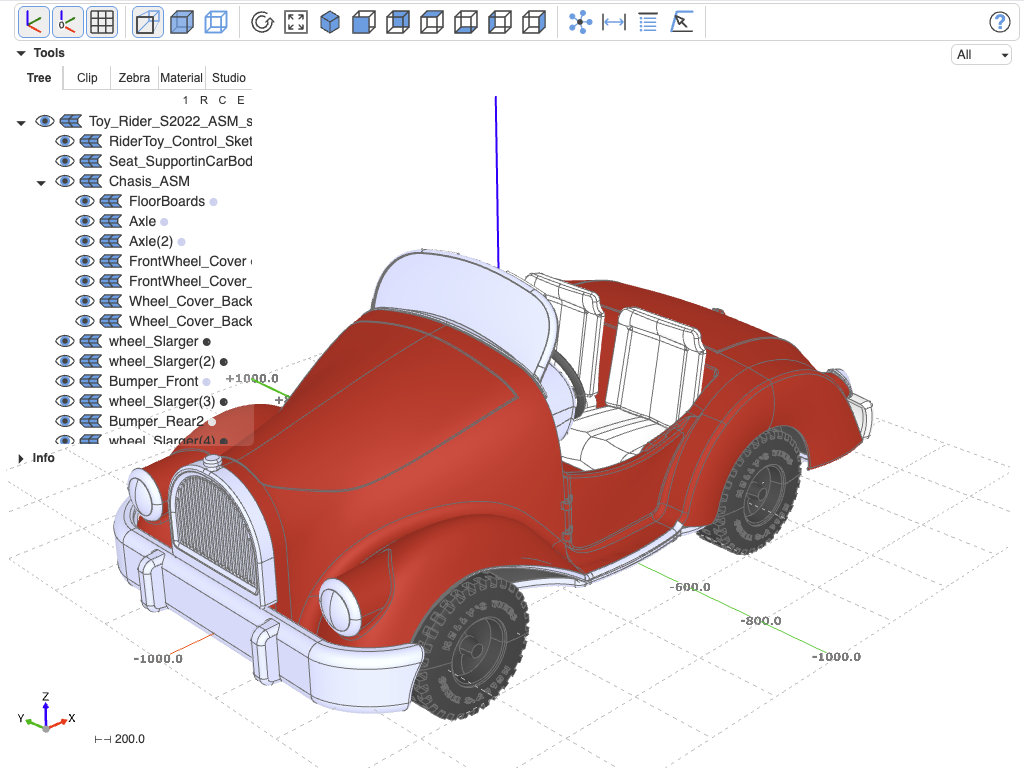
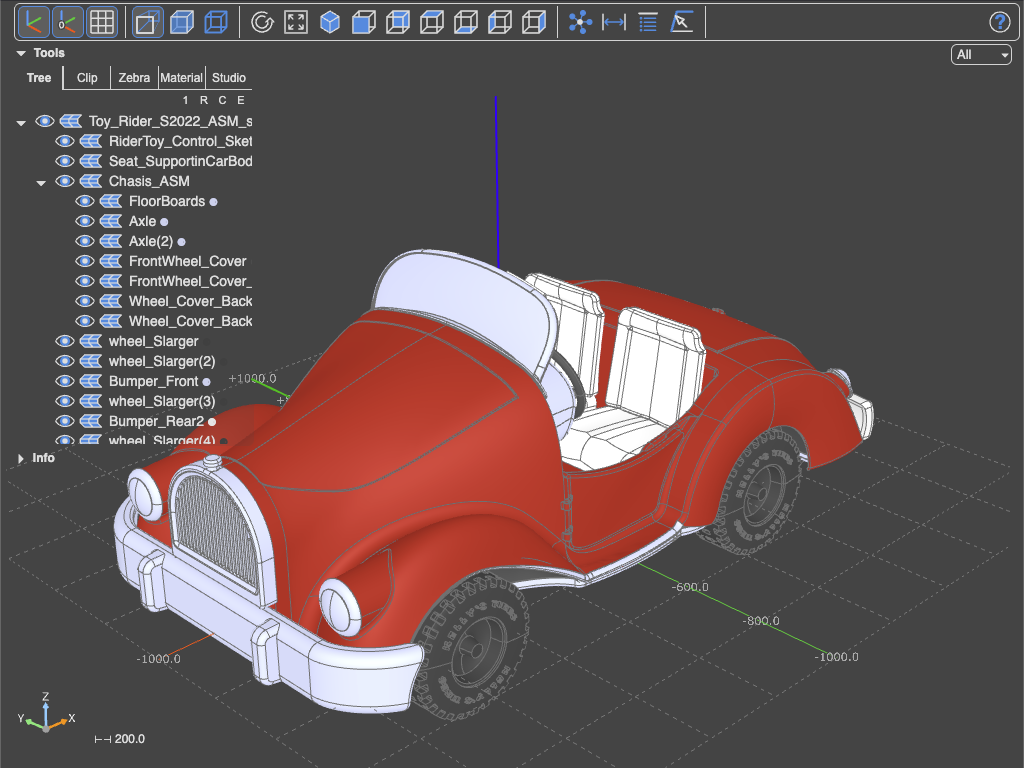
Perspective view with axes at (0, 0, 0) and a grid on the XY plane
- Transparent — render all faces semi-transparent (
transparent, opacity fromdefault_opacity) - Black edges — draw all edges black instead of their own color (
black_edges)
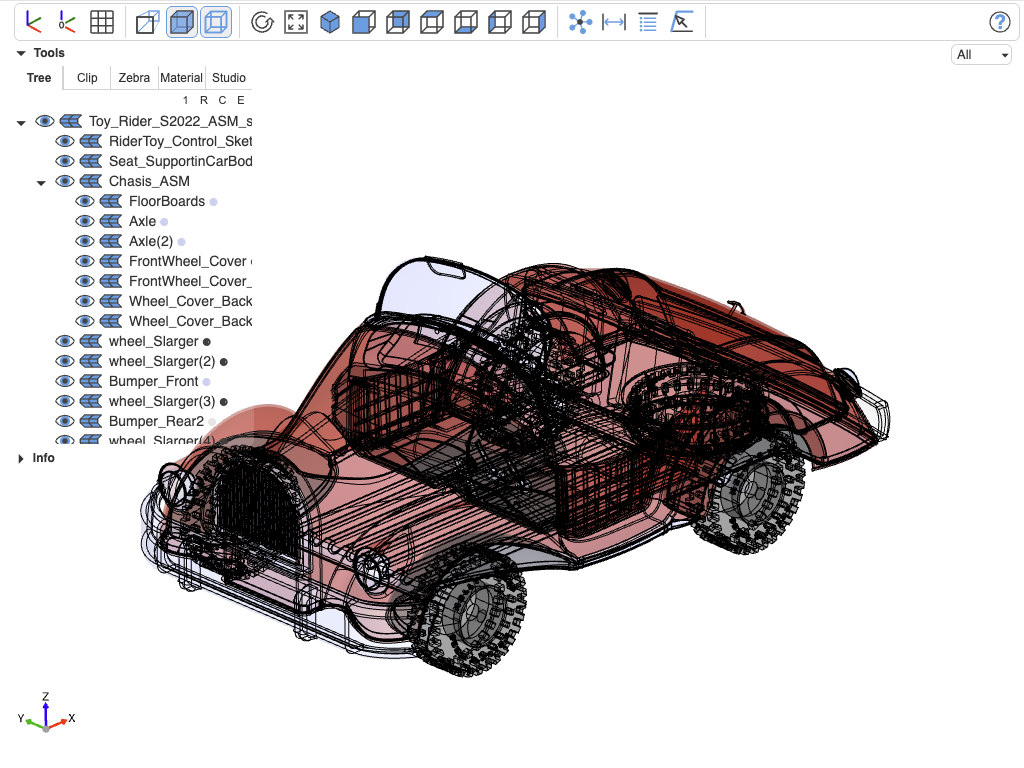
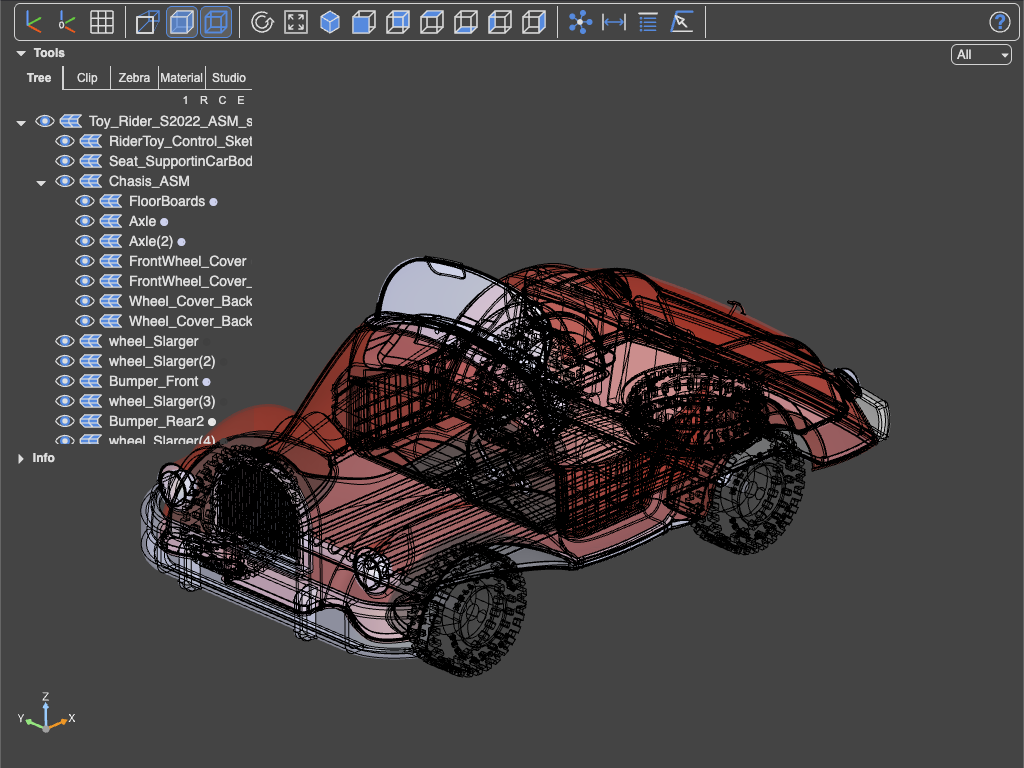
Transparent view with black (highlighted) edges
Camera
- Reset view — reset camera position, rotation, zoom and target
- Resize — fit the current objects into the canvas
- Iso / Front / Back / Top / Bottom / Left / Right — snap the camera to a preset (the
Camerapresets in Python)
Tools (one active at a time)
- Explode — pull an assembly apart to inspect its structure; a slider bar appears below the toolbar — see Dynamic features
- Distance — measure between two picked shapes — see Analysis tools
- Properties — read the properties of one picked shape
- Select — collect element indices for use in code, copying them into the system clipboard
A small filter dropdown (All / Vertex / Edge / Face / Solid) in the toolbar restricts what the mouse highlights and picks.
Right side
- Pin as PNG — freeze the current view as a static image, in viewers that support pinning (e.g. Jupyter cell output)
- Help — the keyboard and mouse binding overlay (dismiss with
ESC)
The info box
The scrollable log under the tree panel. It shows, newest first:
- on startup: the three-cad-viewer version and the active control mode (trackball/orbit)
- on pick: the element's tree path and name, and its bounding box as a min/max/center table per axis
- on set-camera-target: the new target coordinates
Fold it away with the Info toggle when you need the vertical space.
Small indicators
⊢⊣tick size — the current grid spacing in model units, updated as the grid rescales with zoom, so you can always read distances off the grid.- Status line — short hints above the canvas while a tool is active.
- Warning banner — temporary warnings across the top of the canvas (e.g. a material name that could not be resolved).
What the viewer remembers
The viewer holds its state — camera, toggle settings, tree visibility, active tab — until the next show. What happens then is governed by the config system: camera behavior by reset_camera (keep, recenter, or reset), and the toolbar-tier settings survive as the middle layer of the configuration precedence, so a toggle you clicked is not silently undone by the next show unless that show sets it explicitly.