Tabs
The tree panel's header switches between five tabs. From Python, select one with tab= on any show* command or set_viewer_config(tab=...), using the UiTab enum. Each tool tab has an R button to reset its settings to the defaults.
Tree
The navigation tree, one node per object or assembly level. Each node carries two toggle icons: an eye for the object and a mesh icon for its wireframe.
- The eye hides the object entirely — it disables the wireframe, too.
- To see only the faces and no edges, click the mesh icon while the object is shown; the icon turns empty and the wireframe disappears.
- To see only the wireframe, first hide the object with the eye, then click the empty mesh icon — the wireframe comes back alone.
- The clicking works hierarchically: changing leaves adapts the parent icons (a group whose children differ shows a mixed state), and changing a parent lets the whole hierarchy below follow.
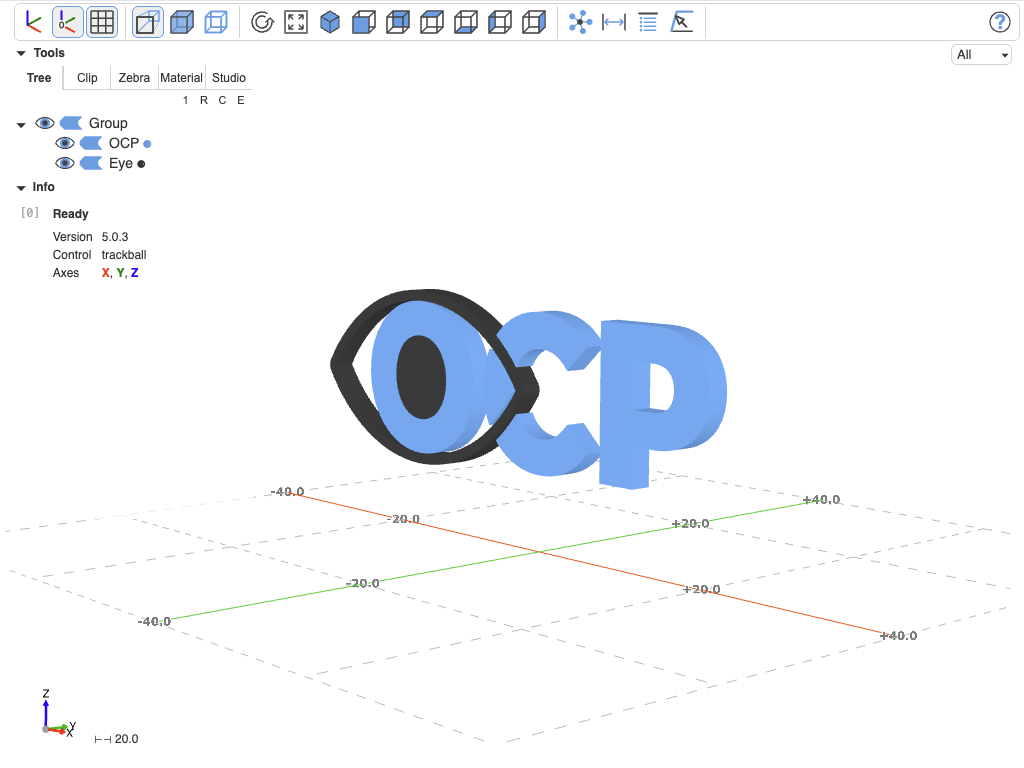
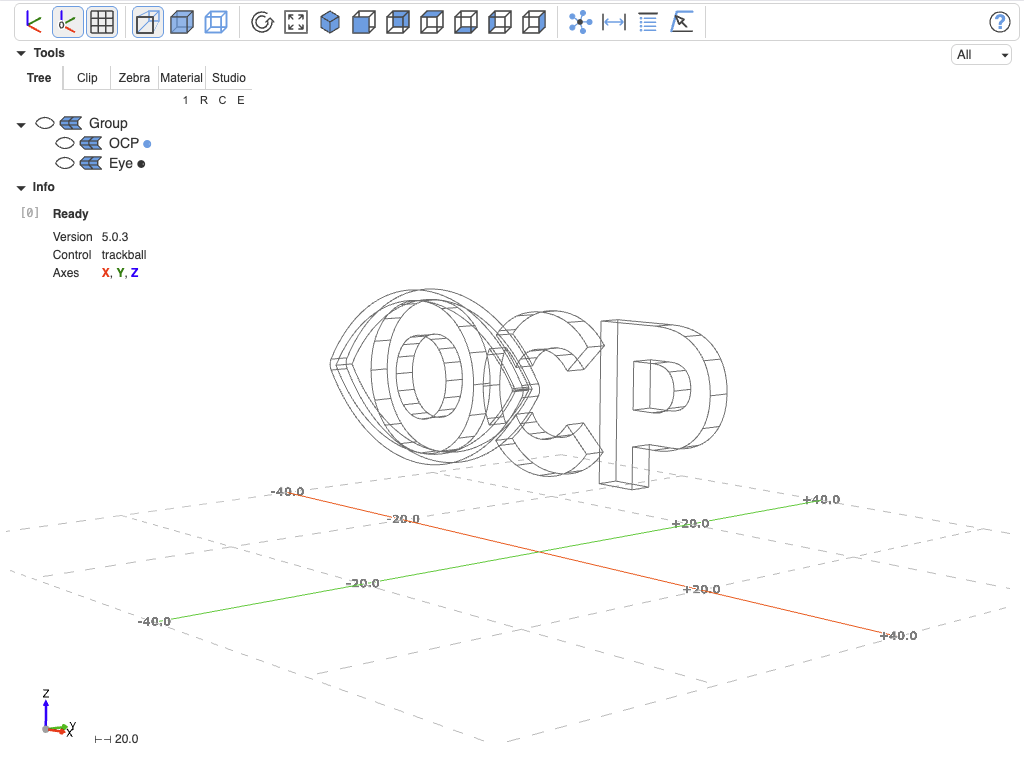
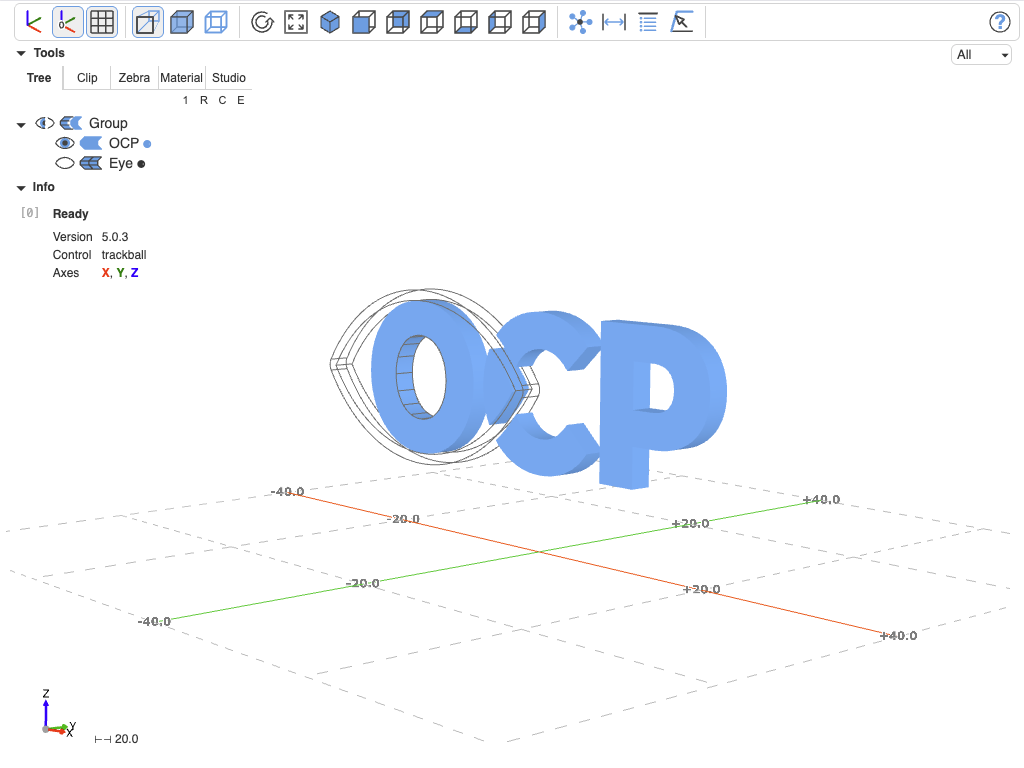
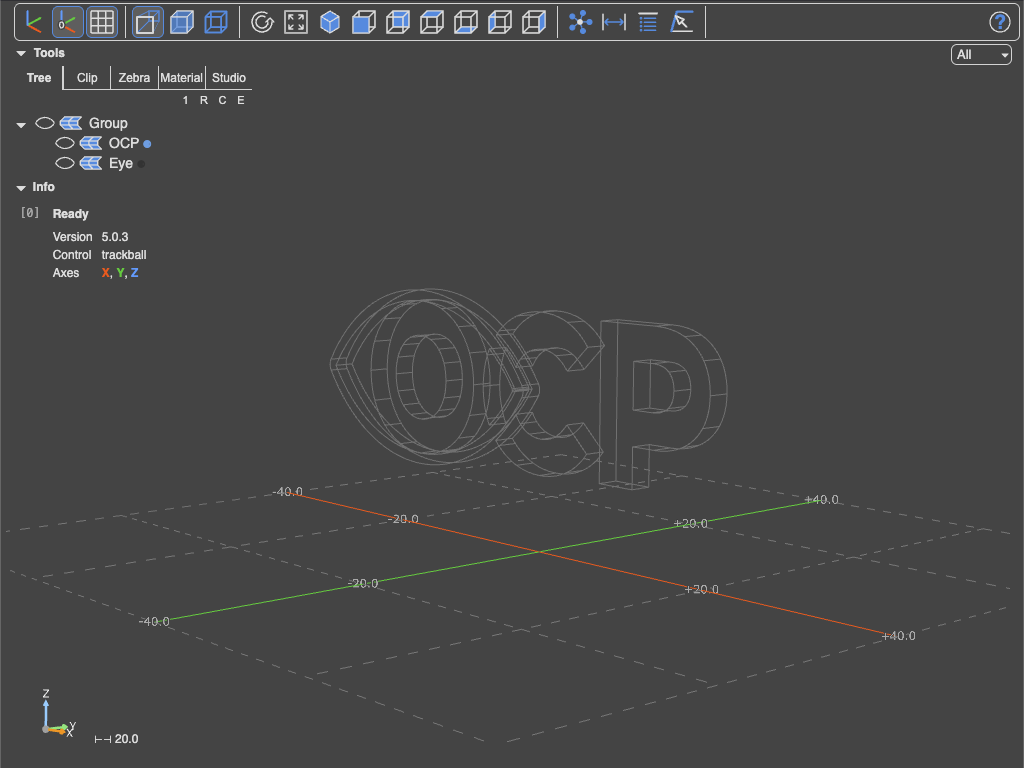
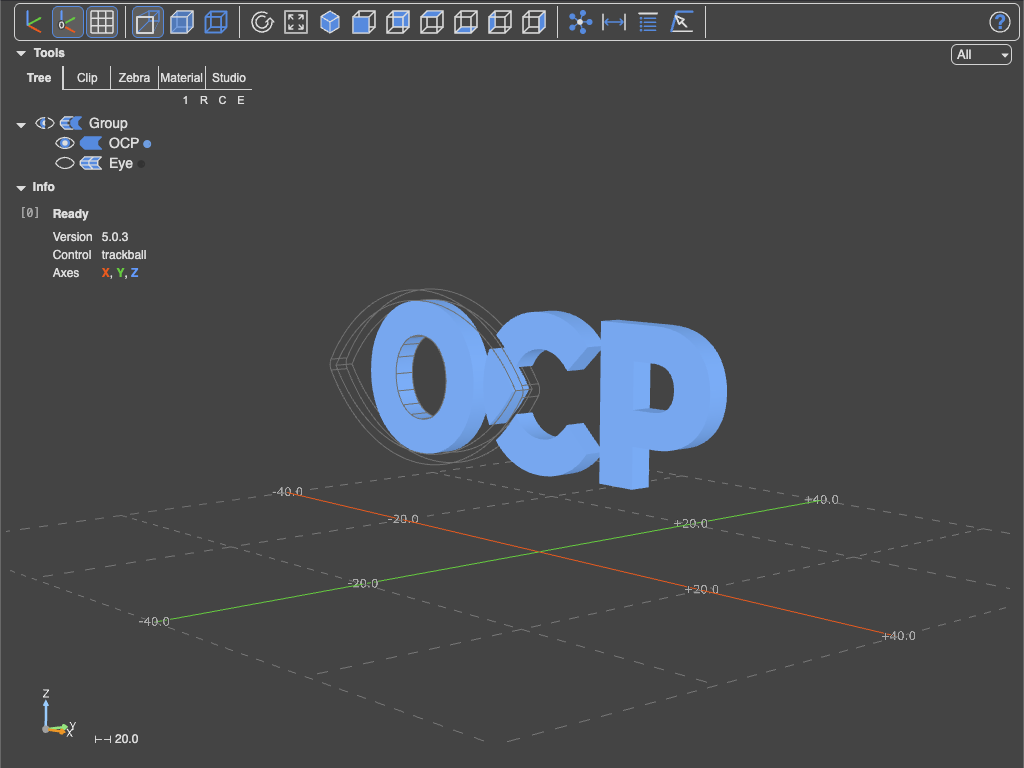
Visibility of faces and/or edges
Four small buttons above the tree control its shape, matching the collapse= keyword: 1 collapses all nodes with a single leaf (Collapse.LEAVES), R expands the root only (Collapse.ROOT), C collapses everything (Collapse.ALL) and E expands everything (Collapse.NONE).
Clicking a node's label (not its icons) picks the object, with the shift/meta combinations from the mouse selection table.
Clip
Three clipping planes — red, green and blue — cut the model open. Per plane:
- a slider with a numeric input moves the plane along its normal
- the current normal is displayed as
N1 = (x, y, z) - the plane button sets the plane's normal to the current view direction, so you cut exactly what you are looking at
Below the sliders:
- Intersection — cut only where all planes cut, instead of where any plane cuts (
clip_intersection) - Planes — show the clipping plane helpers (
clip_planes) - Use object color caps — fill the cut faces with the object's own color instead of red/green/blue (
clip_object_colors)
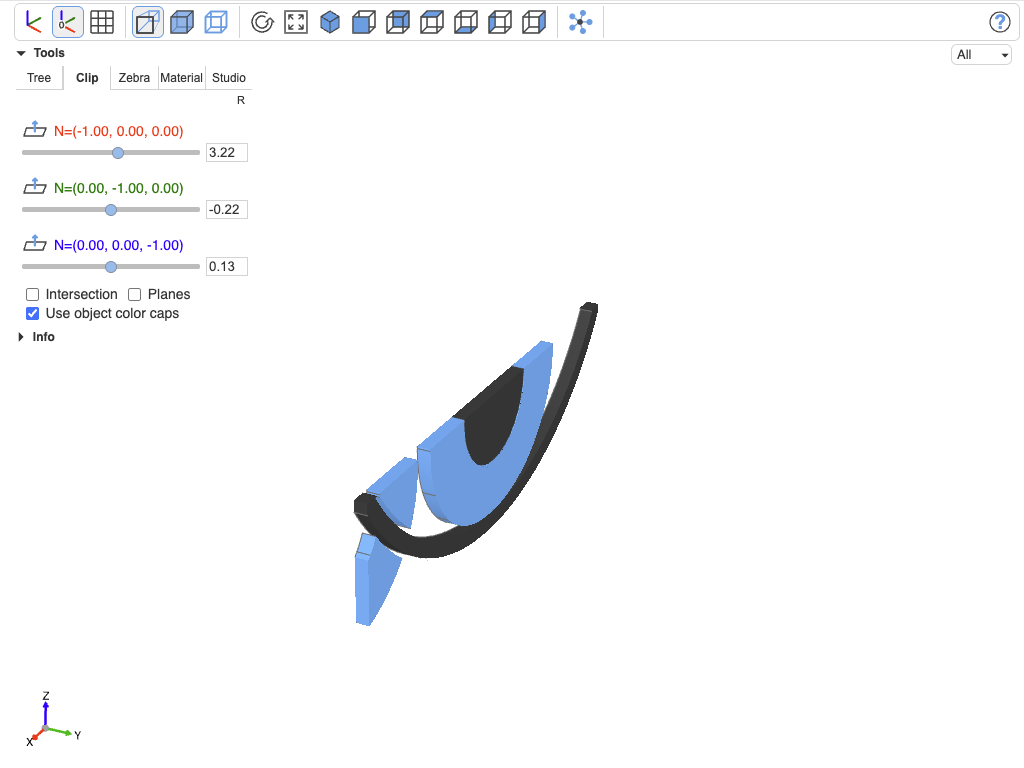
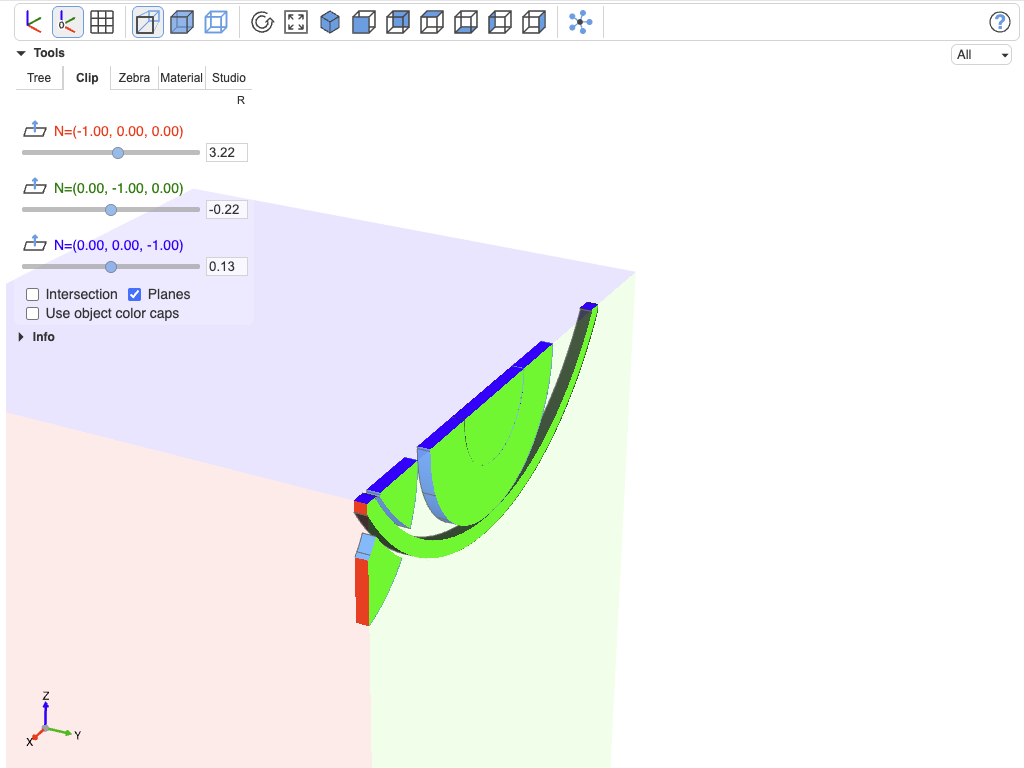
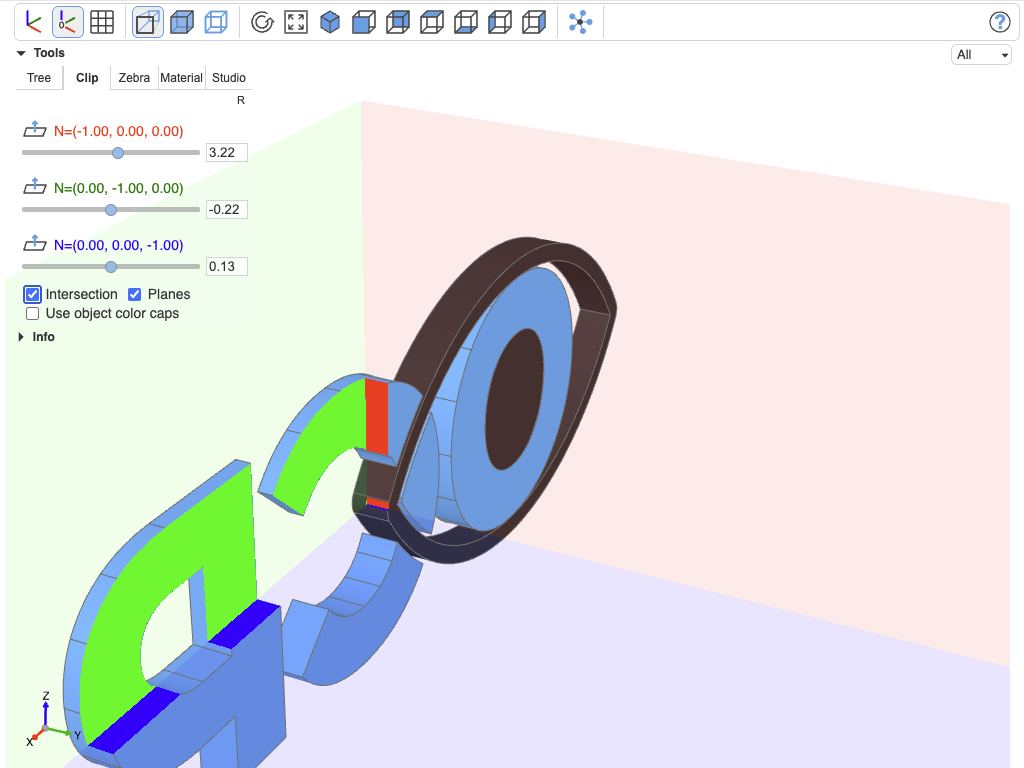
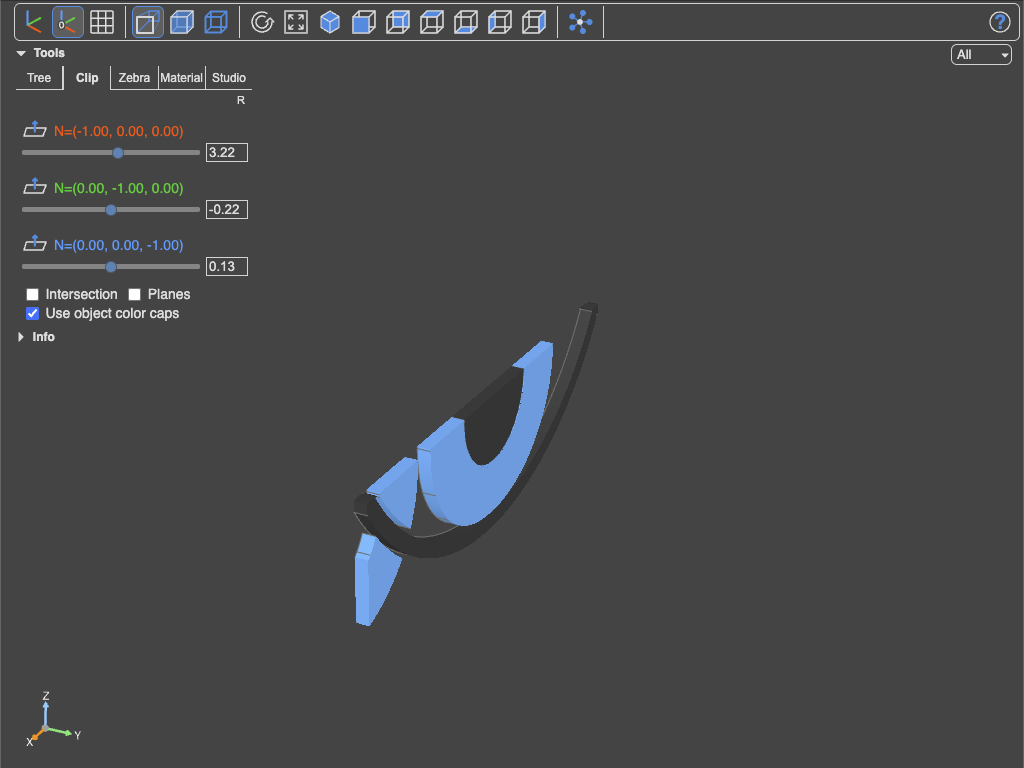
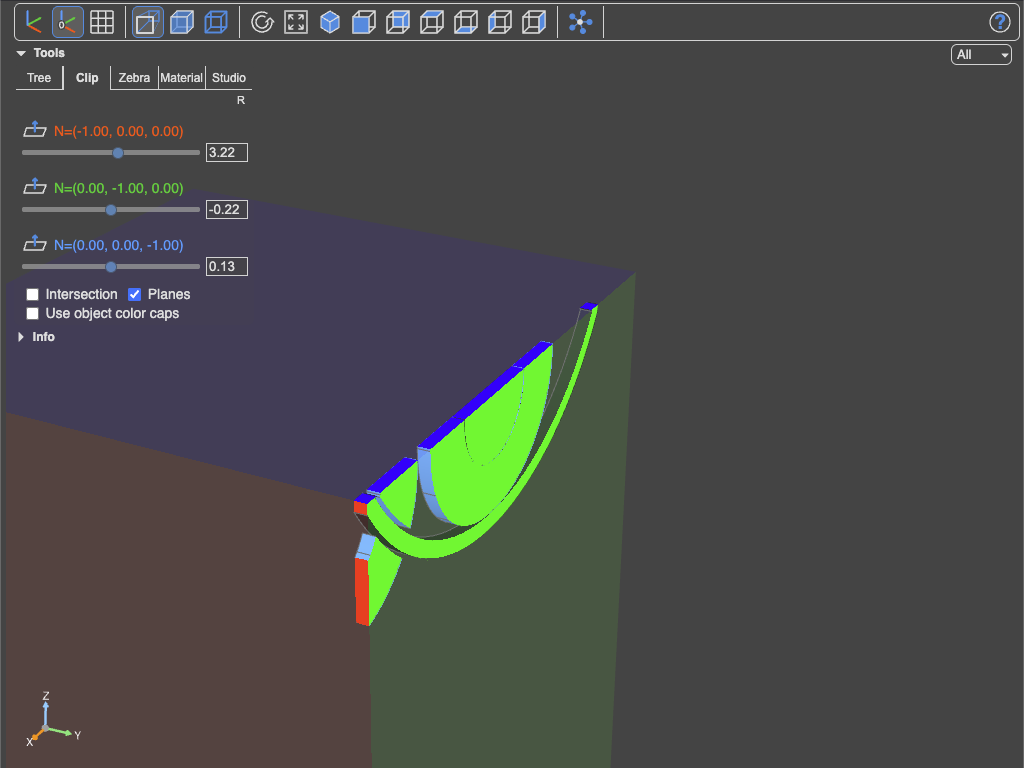
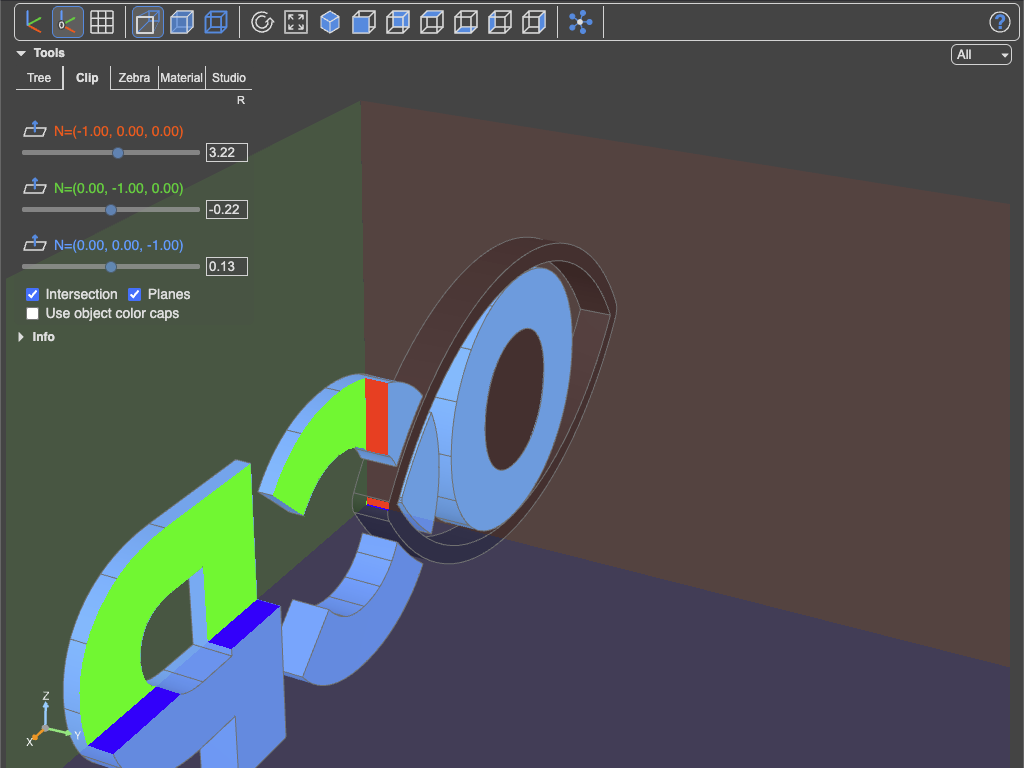
Different clipping modes
The Python keywords are clip_slider_0/1/2 and clip_normal_0/1/2.
Zebra
Zebra stripe analysis for judging surface quality and continuity: stripes are projected onto the model, and the way they flow across face boundaries reveals tangency and curvature breaks that flat shading hides.
- Stripe Count (2–50,
zebra_count) and Stripe Opacity (0–1,zebra_opacity) - Direction — rotate the stripe pattern by 0–90° (
zebra_direction) - color scheme B/W, Gray or Colors (
zebra_color_scheme) - mapping Reflection (stripes follow what a mirror finish would reflect — the classic car-body check, view-dependent) or Normal (stripes follow the surface normals, view-independent) (
zebra_mapping_mode)
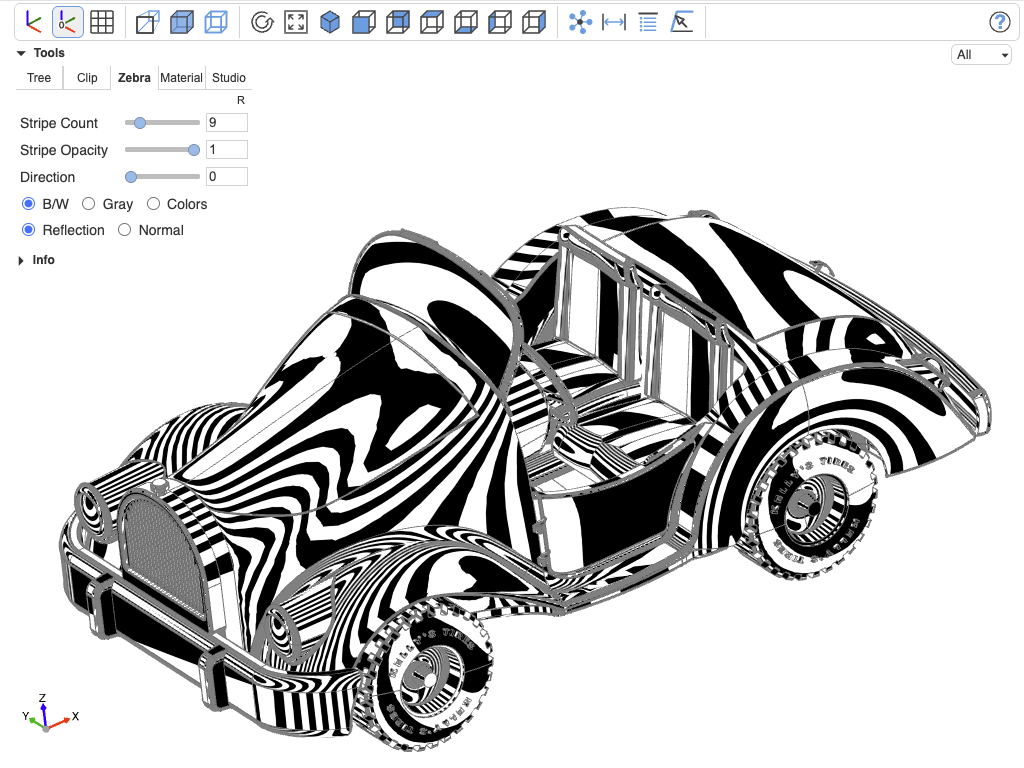
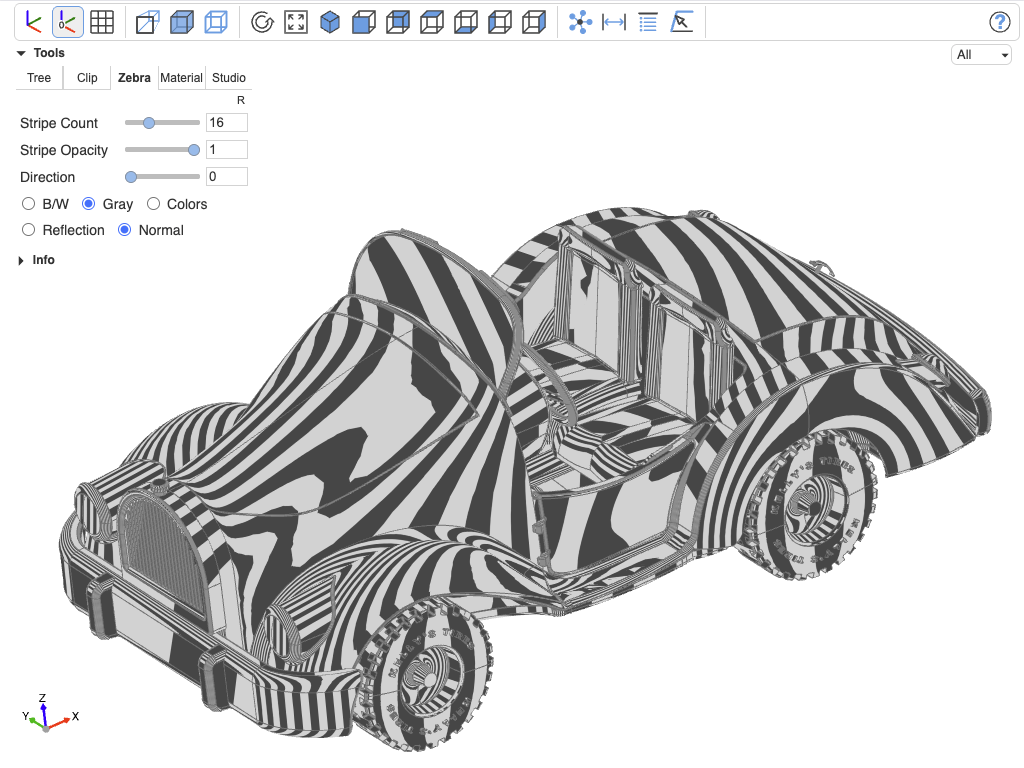
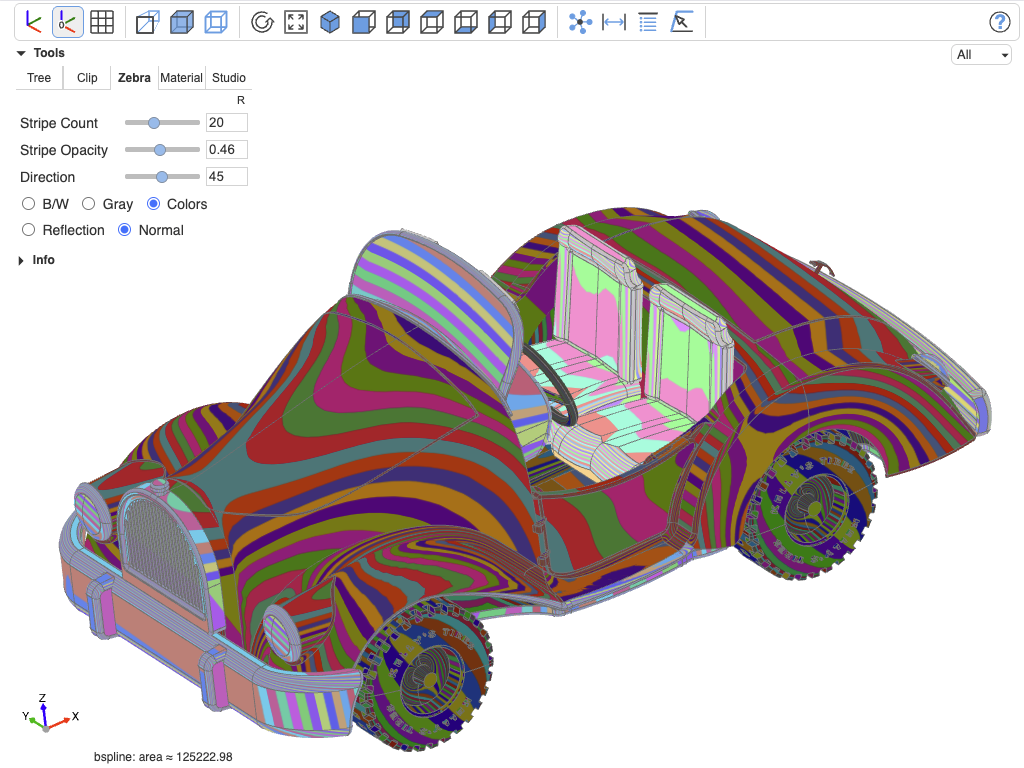
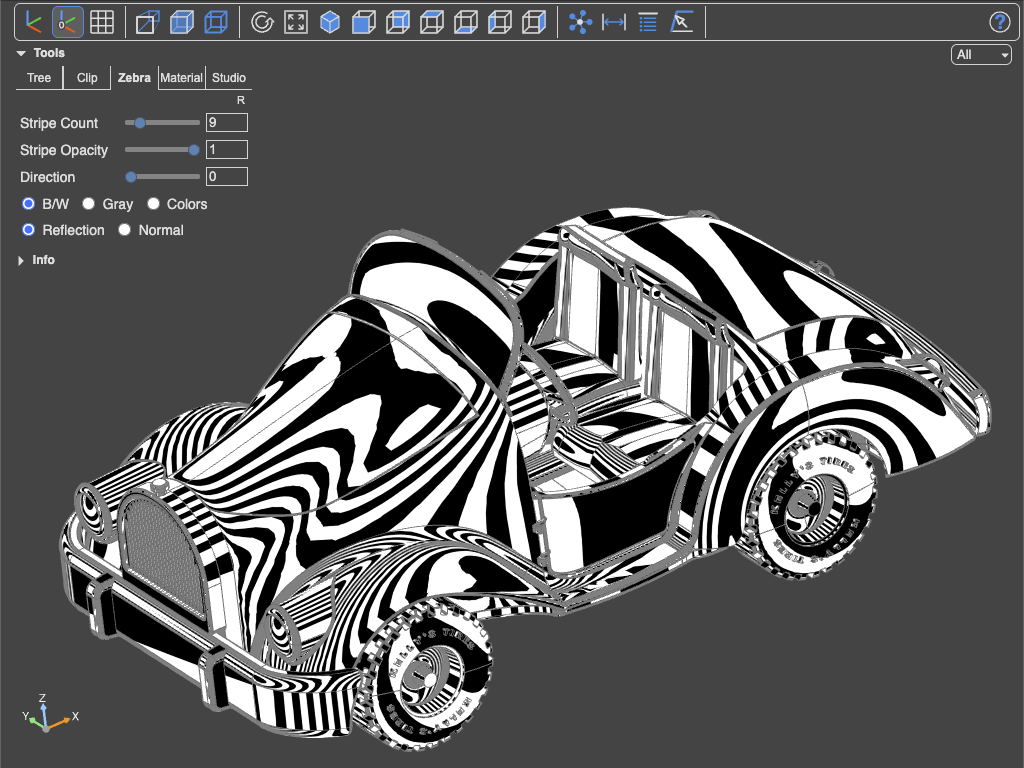
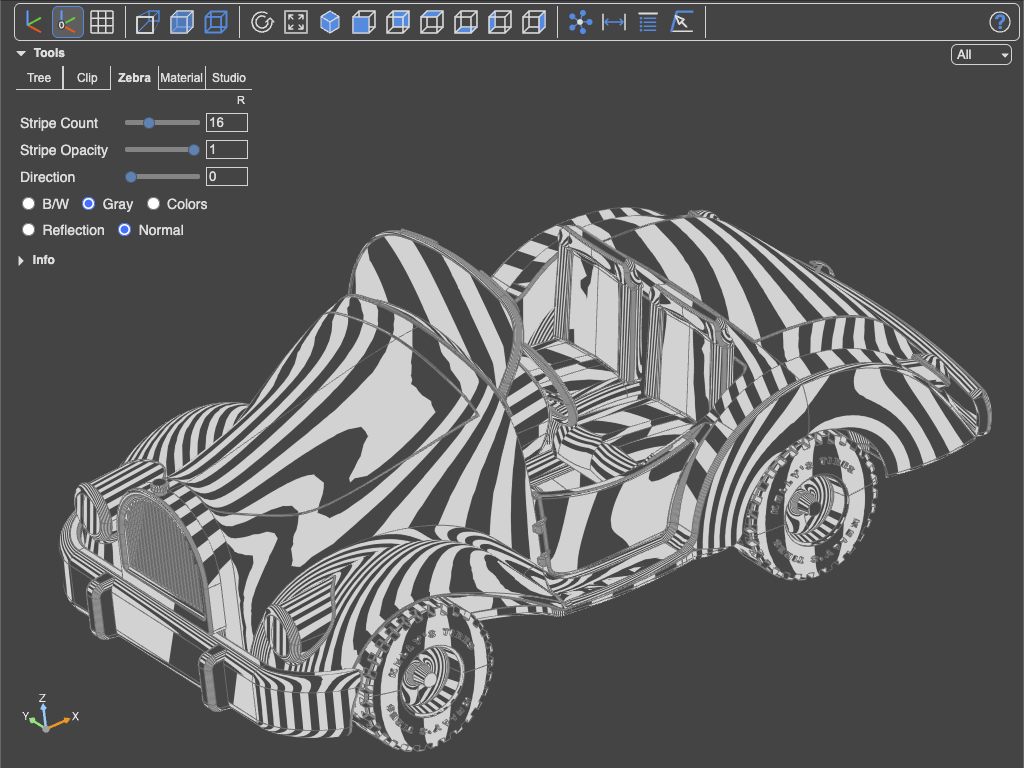
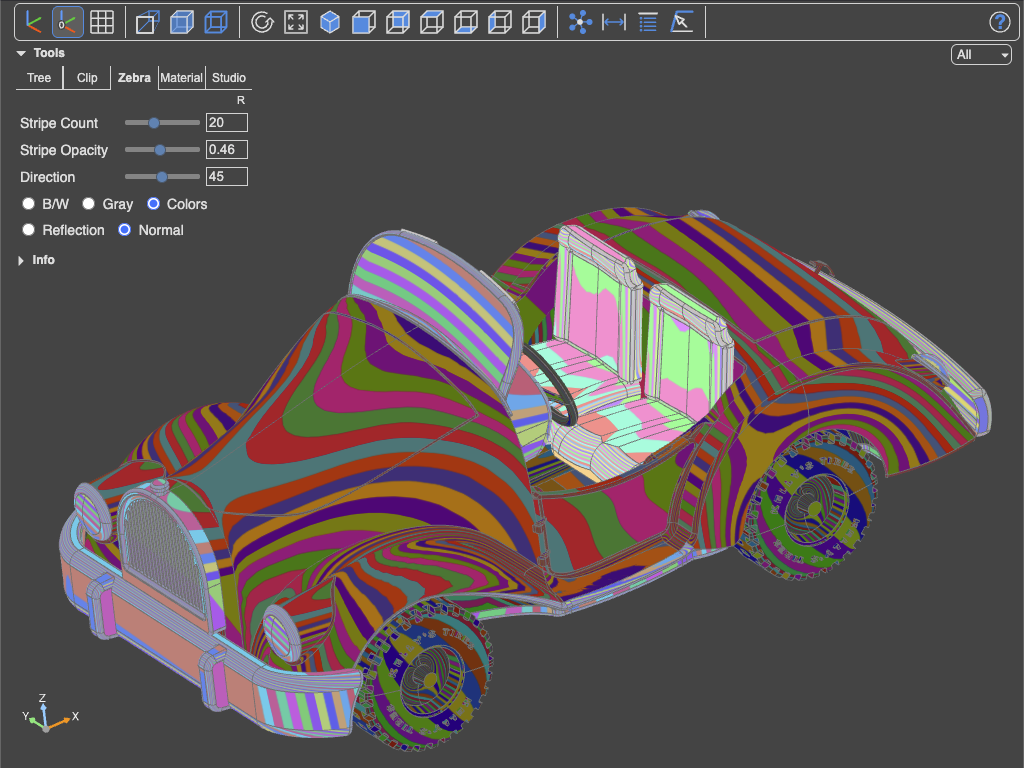
Different zebra modes
Material
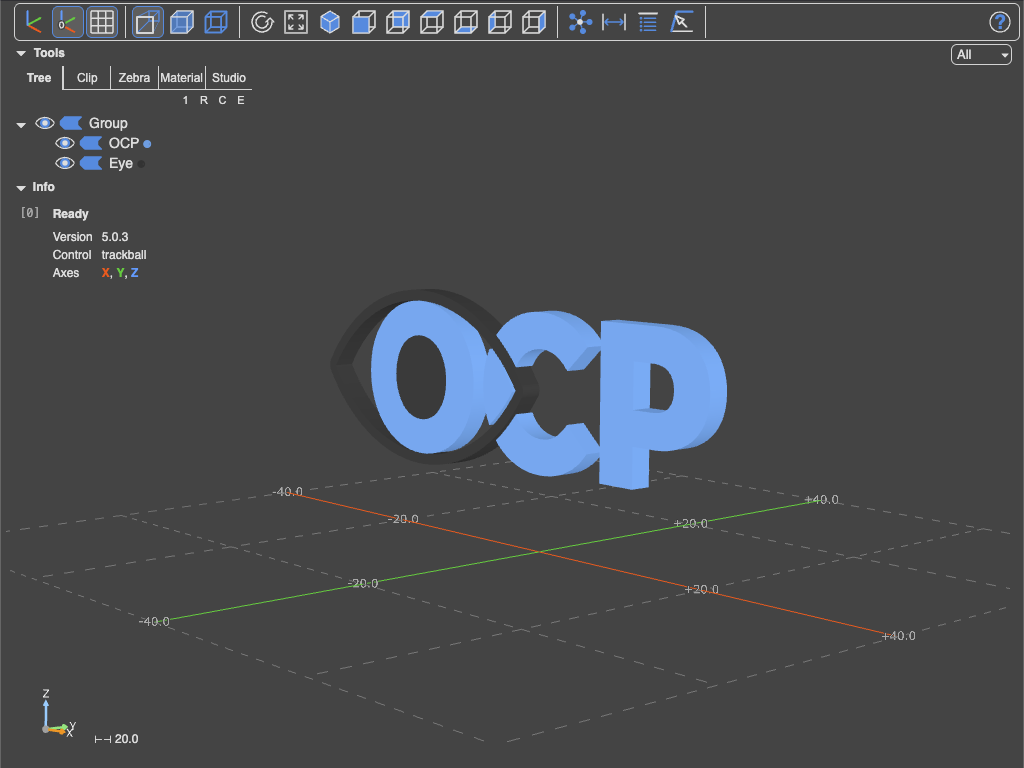
The lighting and material of the plain CAD view (not Studio mode), all in percent: Ambient Light, Direct Light, Metalness and Roughness — the ambient_intensity, direct_intensity, metalness and roughness keywords.
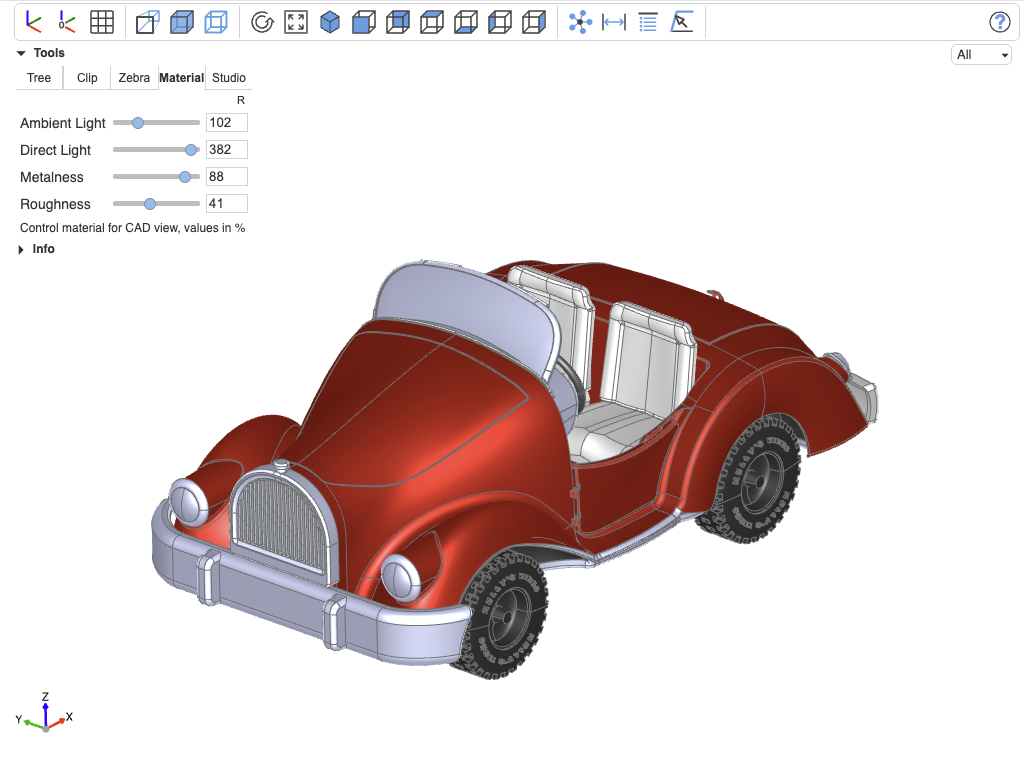
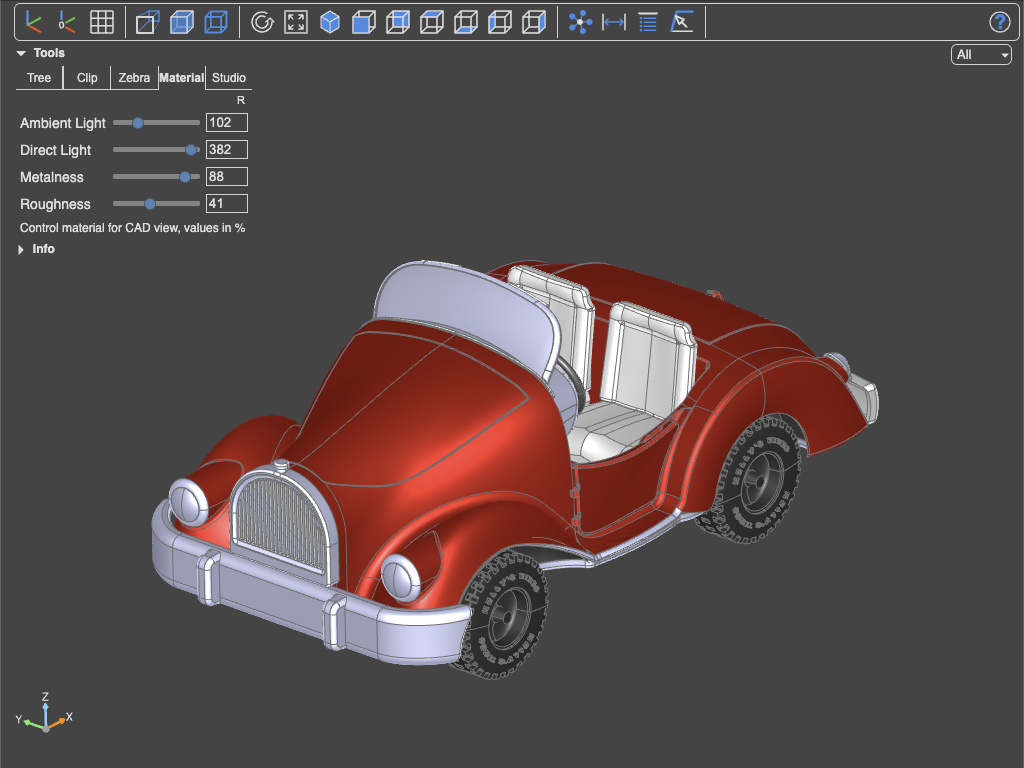
Customized material for the CAD view
Studio
Photo-realistic rendering. A spinner shows while an HDR environment downloads.
- Environment — the HDR map lighting the scene, grouped into studio presets (Procedural Studio, Soft Light, High Contrast Studio, Bright Neutral, Clean Softbox, Spotlit Setup, Controlled Light, Hard Contrast Light) and outdoor presets (Urban Overcast, Outdoor Warm, Neutral Industrial, San Giuseppe Bridge). From Python a custom HDR URL is also accepted (
studio_environment). - Use 4K maps — sharper reflections, slower download (
studio_4k_env_maps) - Env Intensity (0–300%) and Env Rotation (0–360°) — brightness and orientation of the environment lighting
- Background — Environment, Transparent, Gradient Grey, Gradient Dark Grey, Solid White, Solid Grey, Solid Dark Grey (
studio_background) - Tone Mapping — PBR Neutral, ACES Filmic, or Linear (
studio_tone_mapping), with Exposure (0–300%,studio_exposure) - Shadow Intensity and Shadow Softness (
studio_shadow_intensity,studio_shadow_softness) - AO Intensity — screen-space ambient occlusion, darkening crevices and contact areas (
studio_ao_intensity) - Texture Mapping — Triplanar or Parametric UV projection for materials without UV coordinates (
studio_texture_mapping)
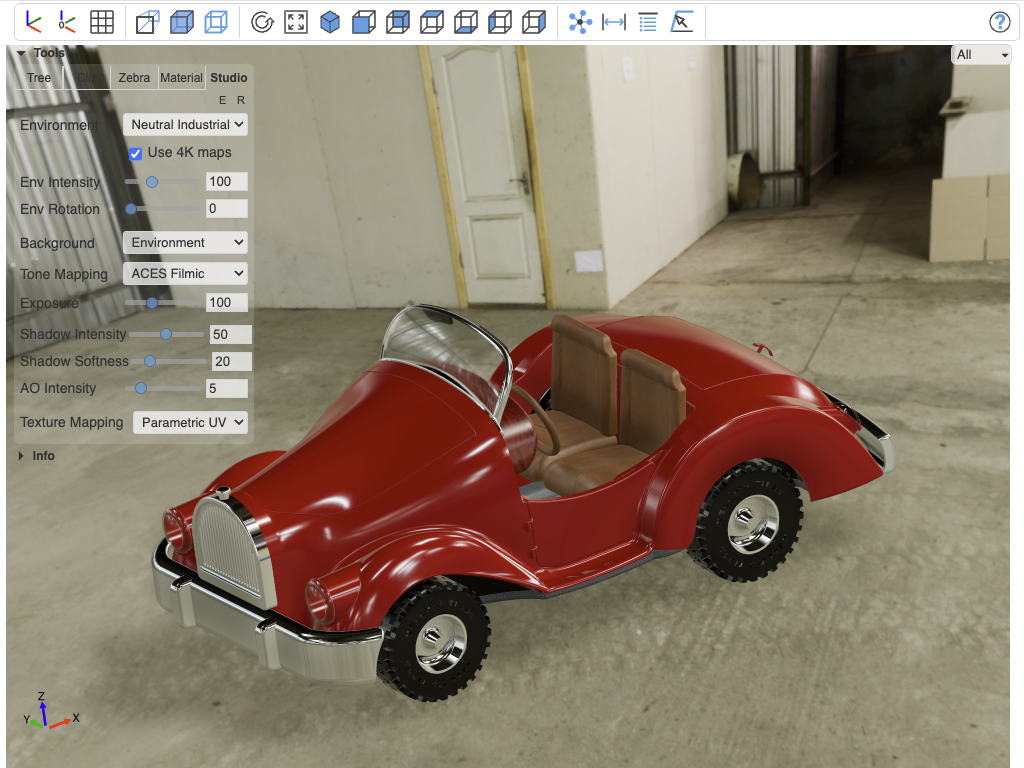
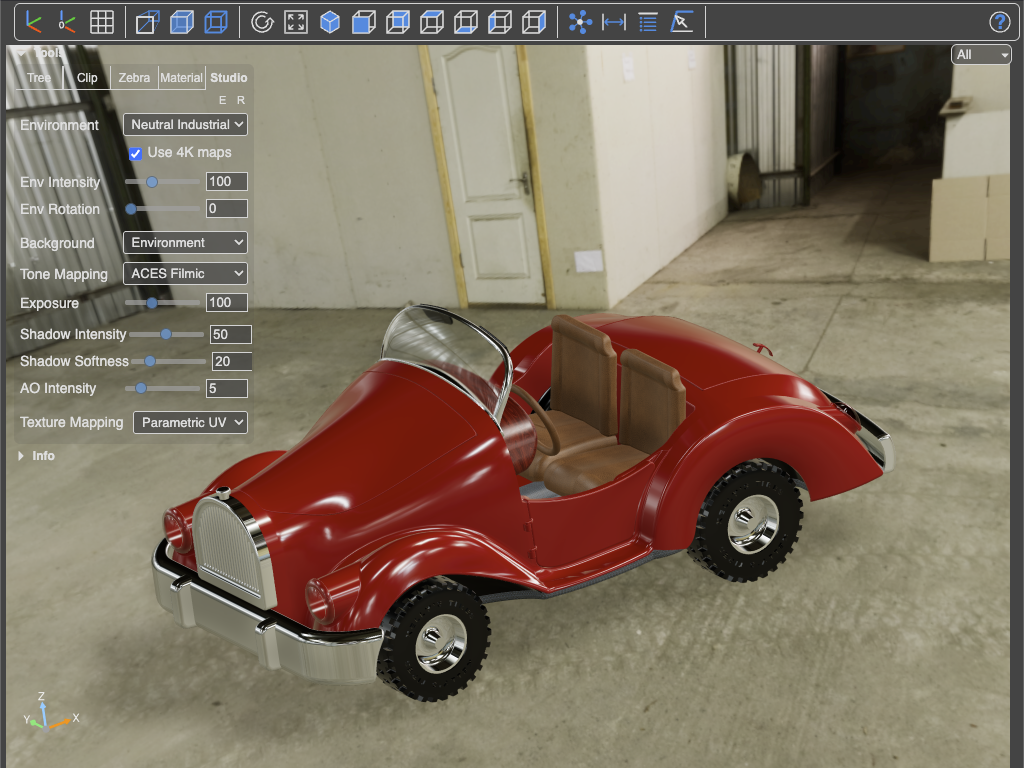
Physically Based Rendering (PBR) view
The tab's E button opens the material editor for the selected object: double-click an object, press E, and a floating window shows the object's path and its PBR material values. Edit them live; changed values are marked red, R restores the original material, X closes the window. The red values are meant to be carried back into Python code as override(...) arguments — see Materials and Studio mode.
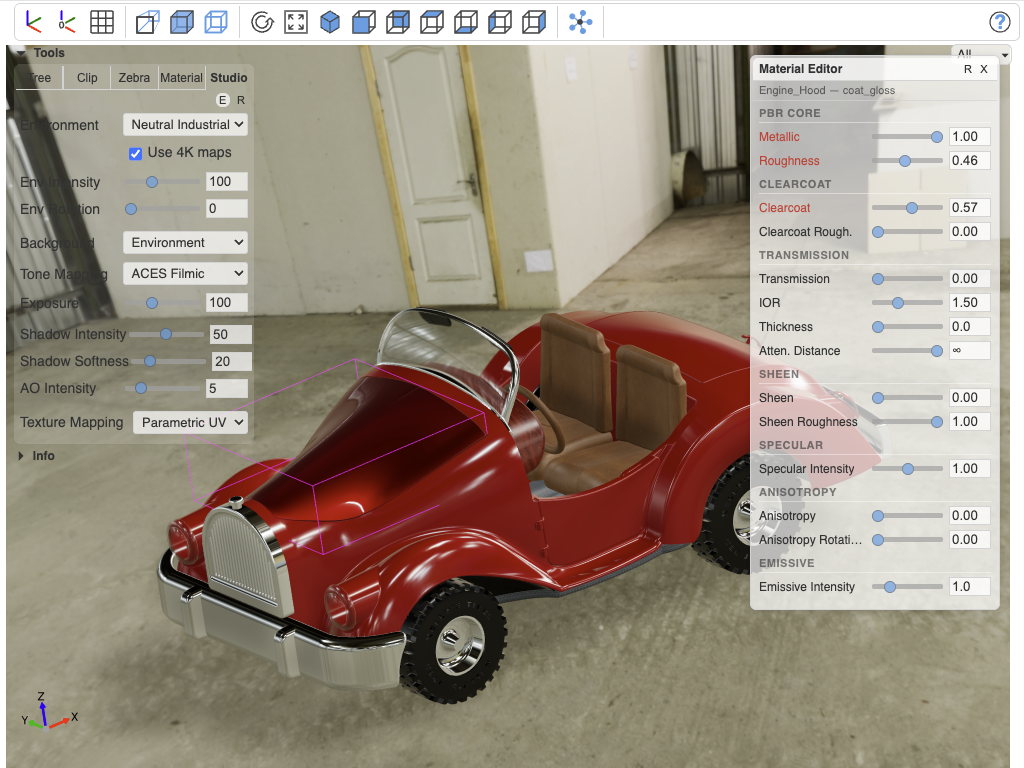
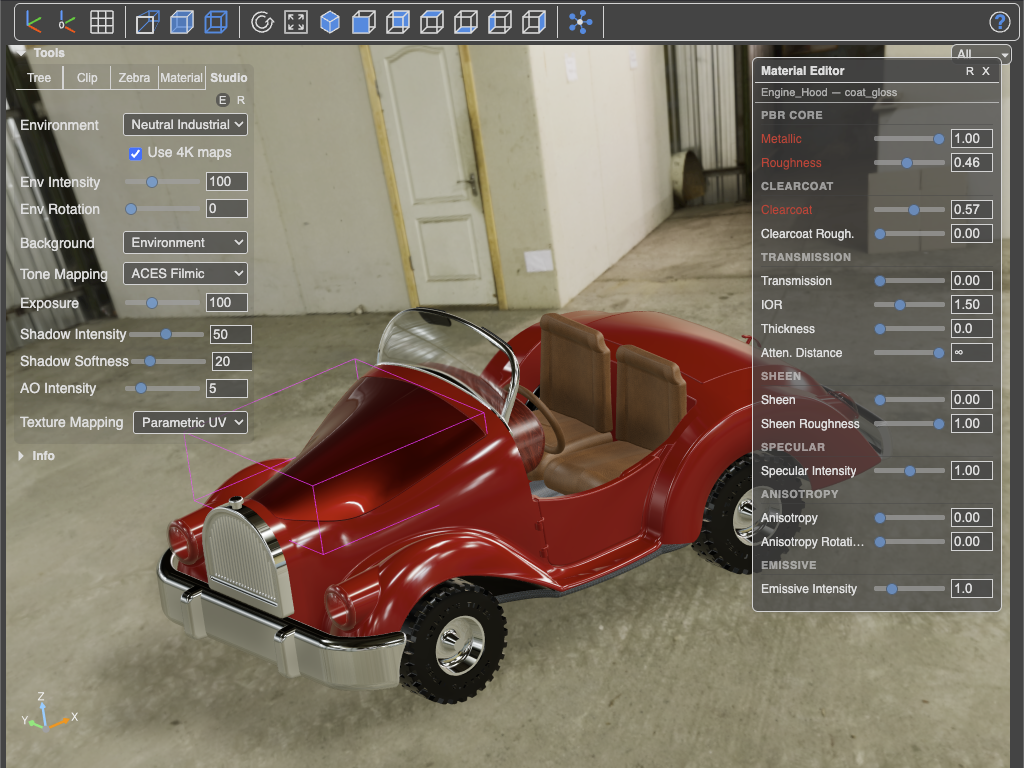
PBR property editor